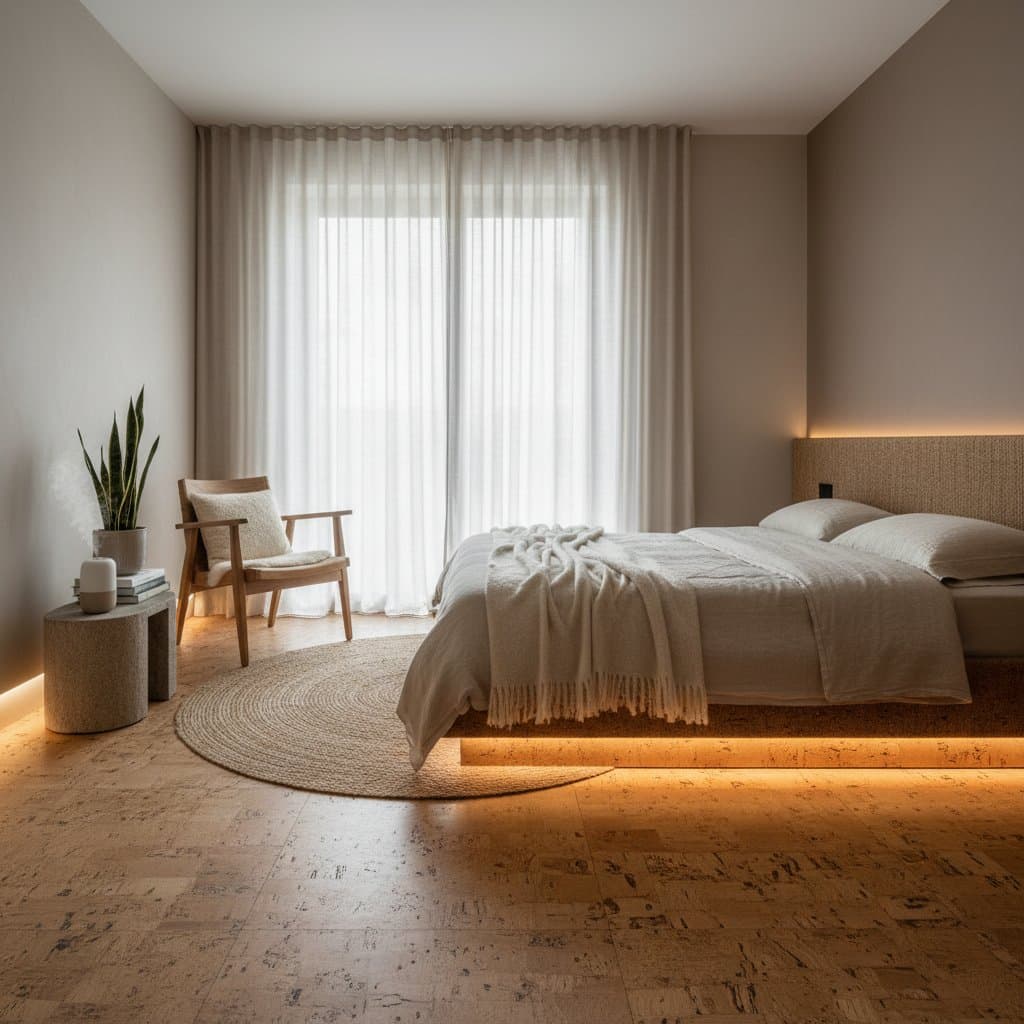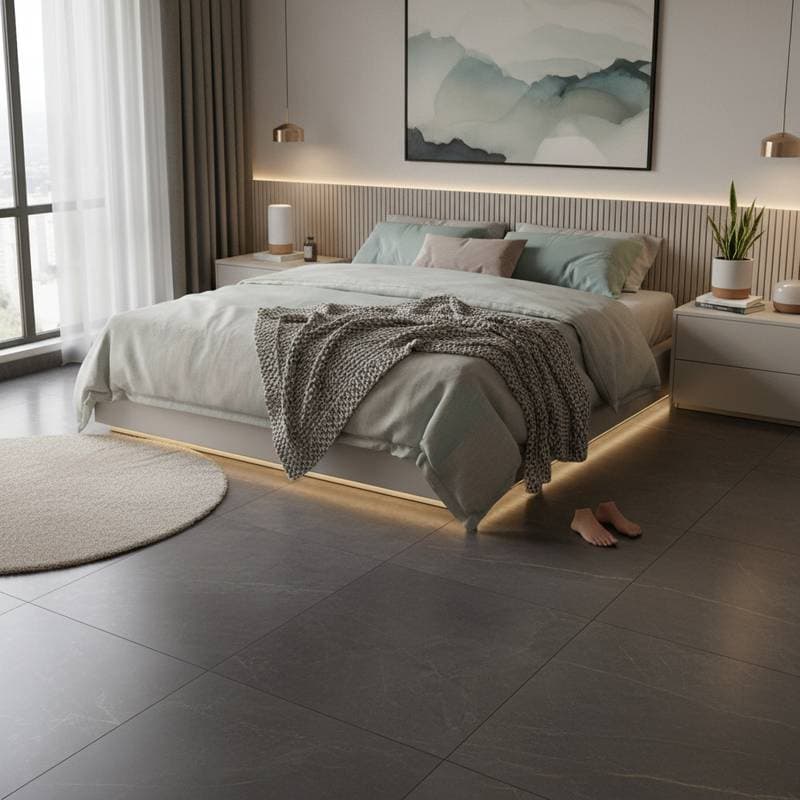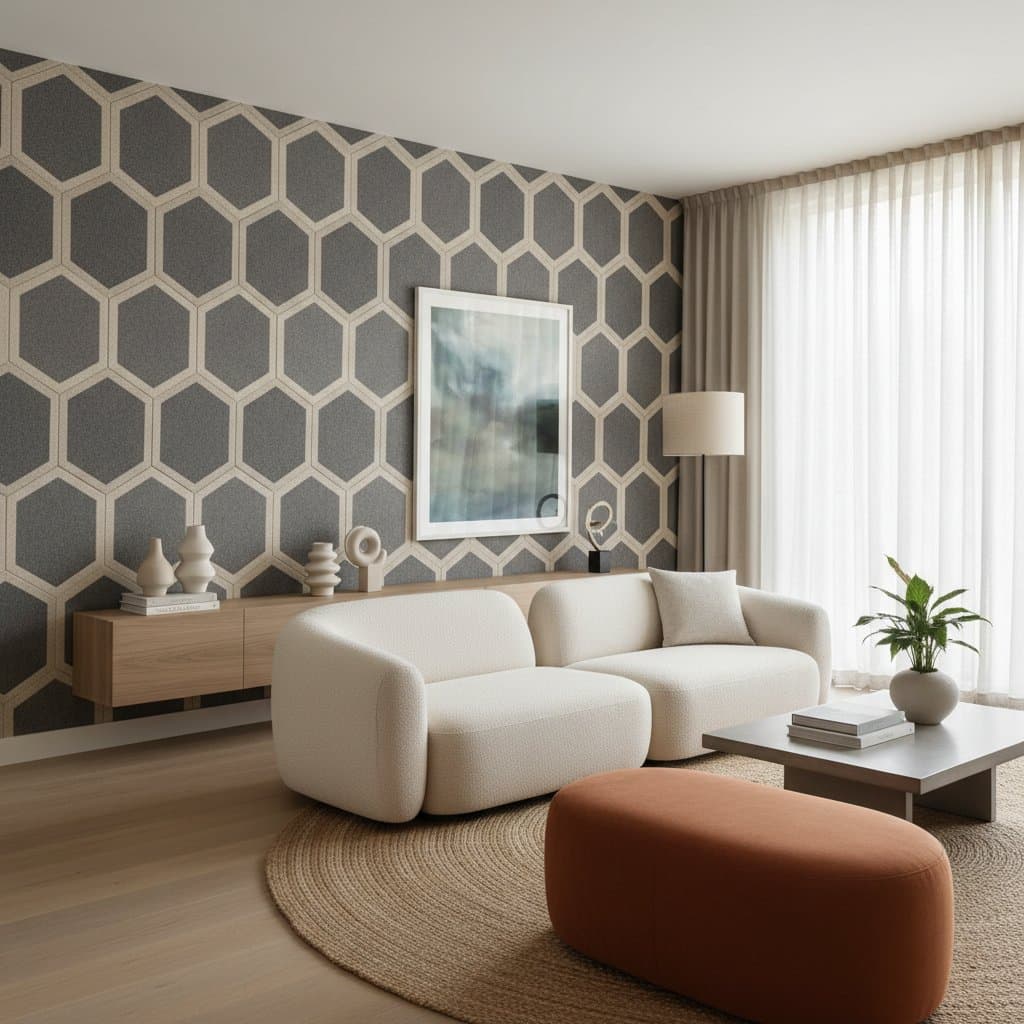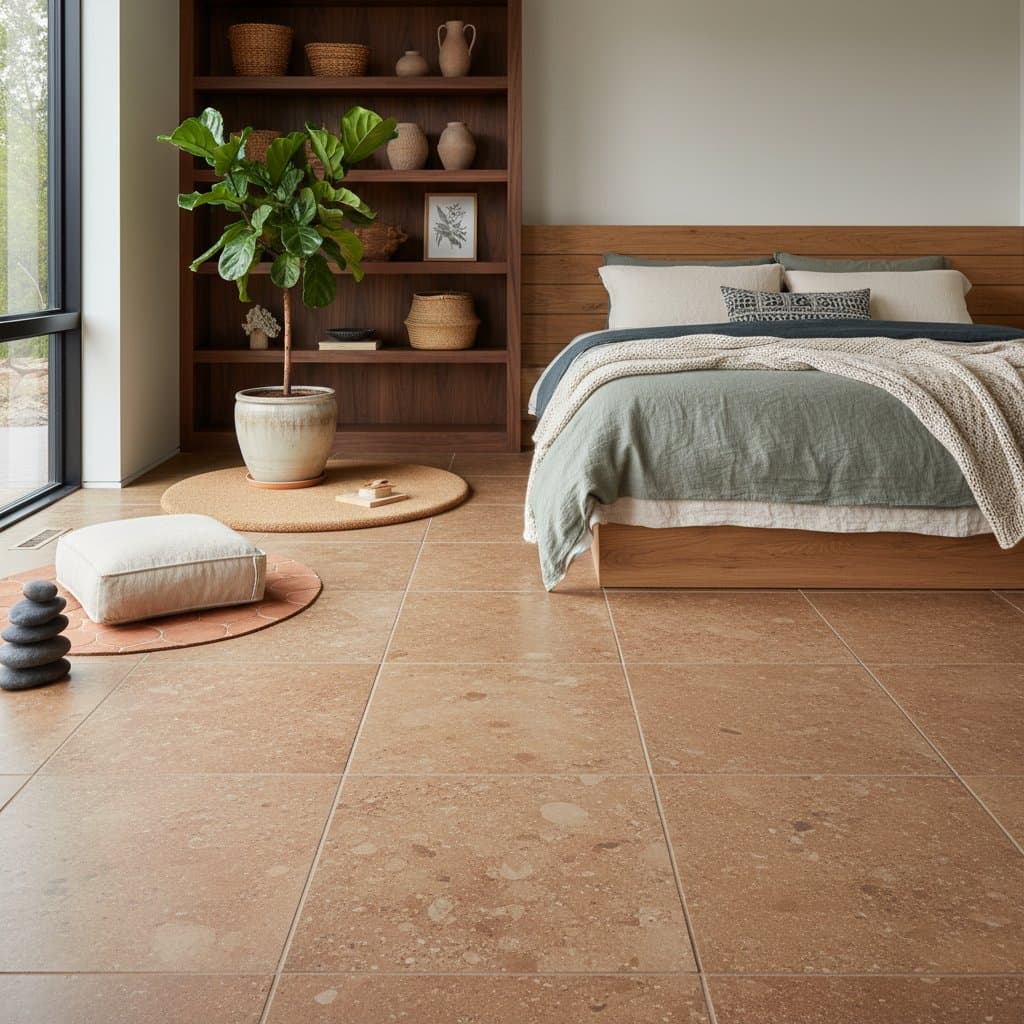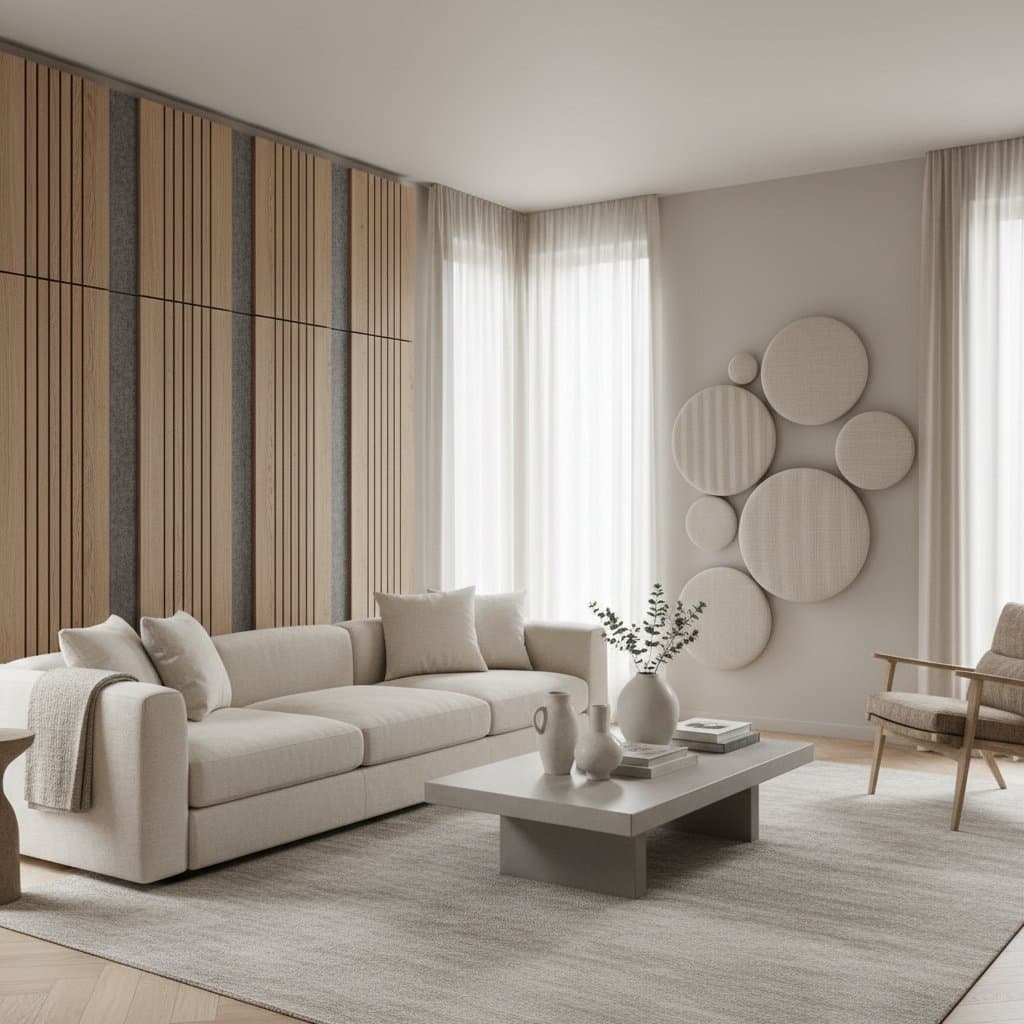
Soundproof Decor That Looks Like Luxury Design
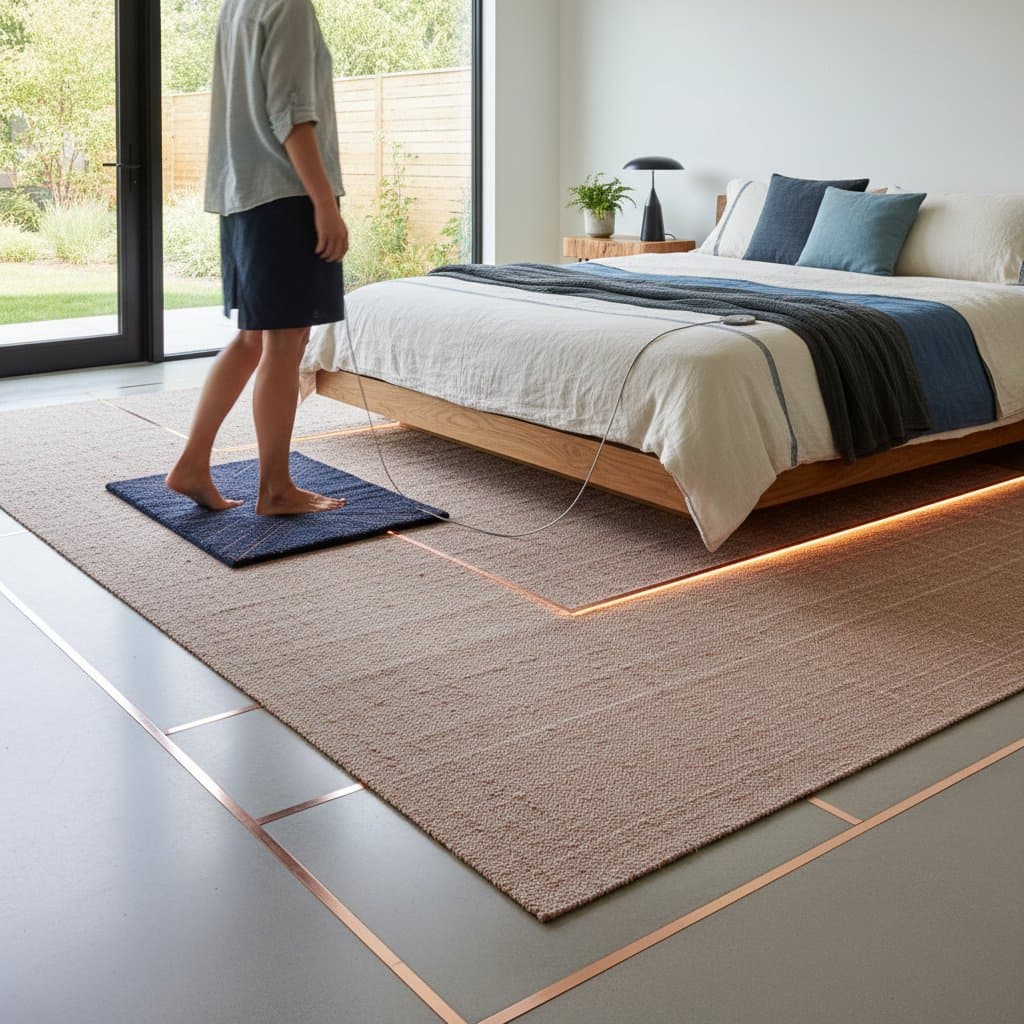
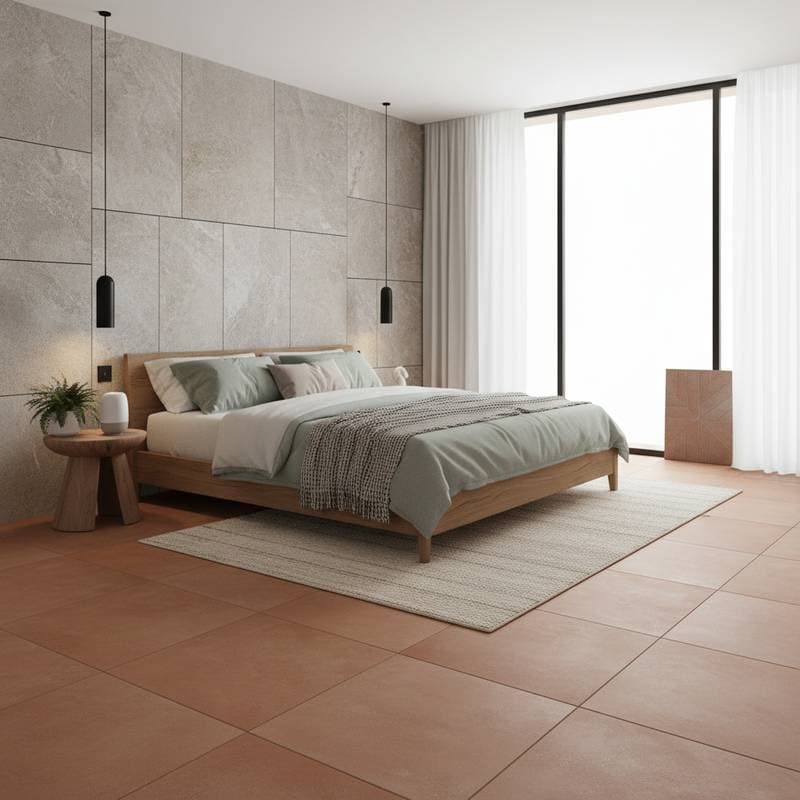
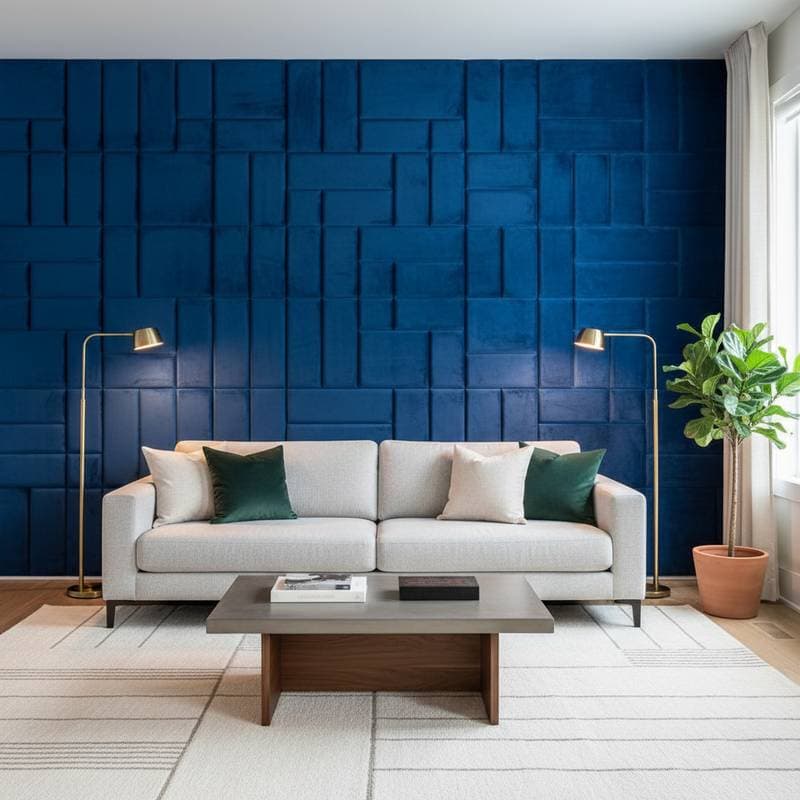
Soundproof decor merges acoustic expertise with sophisticated aesthetics to turn everyday spaces into peaceful retreats. This approach ensures quiet comfort without compromising on visual appeal.
By Hannah Ensley
4 min read